CHALLENGE INFORMATION
 | Platform: TryHackMe Event: Advent of Cyber 2025 Day: 07 Title: Network Discovery - Scan-ta Clause |
Description
Discover how to scan network ports and uncover what is hidden behind them.
Summary
Here we demonstrate progressive port scanning (Nmap), service enumeration (FTP, custom TCP service, DNS), file retrieval, and post‑exploitation steps (accessing an admin console, enumerating listening ports, and extracting flags from a local MySQL database).

Storyline
HopSec breached the QA server (tbfc‑devqa01), locking out access and halting the TBFC projects and SOC‑mas pipeline. The compromised server is gradually turning into a twisted EAST‑mas node. The task is to trace HopSec’s activity, regain entry to the server, and restore it before the bunny takeover completes.
Discover Network Services
We begin with the simplest approach: a default port scan of the most common one thousand TCP ports.
user@kali:~$ nmap 10.82.130.66
...
PORT   STATE SERVICE
22/tcp open  ssh
80/tcp open  http
...
user@kali:~$
Only two ports are reported open: port 22 and port 80. Examining the web portal on port 80 provides the answer to the first question.
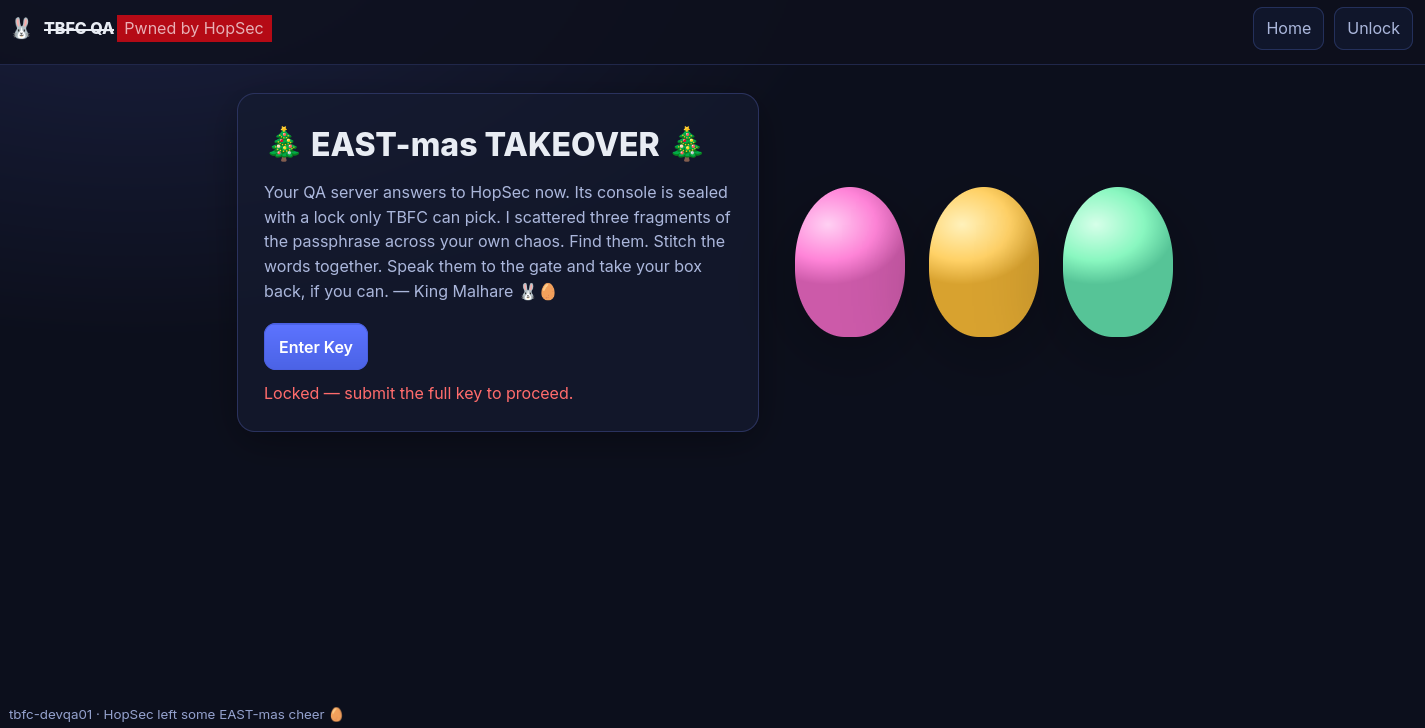
Figure 1: Compromised TBFC web portal displaying the HopSec defacement message
We continue by scanning the entire TCP port range – that is, all sixty-five thousand five hundred thirty-five ports – using the --script=banner option to perform banner grabbing. This script connects to open services and returns their identification text.
user@kali:~$ nmap -p- --script=banner 10.82.130.66
...
PORT      STATE SERVICE
22/tcp    open  ssh
|_banner: SSH-2.0-OpenSSH_9.6p1 Ubuntu-3ubuntu13.14
80/tcp    open  http
21212/tcp open  trinket-agent
|_banner: 220 (vsFTPd 3.0.5)
25251/tcp open  unknown
|_banner: TBFC maintd v0.2\x0AType HELP for commands.
...
user@kali:~$
Several additional open ports are discovered. We attempt to access the FTP service on port 21212 using anonymous authentication.
user@kali:~$ ftp 10.82.130.66 21212
Connected to 10.82.130.66.
220 (vsFTPd 3.0.5)
Name (10.82.130.66:user): anonymous
230 Login successful.
Remote system type is UNIX.
Using binary mode to transfer files.
ftp> ls
229 Entering Extended Passive Mode (|||15846|)
^C
receive aborted. Waiting for remote to finish abort.
The connection succeeds, but the client enters Extended Passive Mode. We disable passive mode by typing passive to switch to active mode.
Once in active mode, we examine the current directory.
ftp> passive
Passive mode: off; fallback to active mode: off.
ftp> ls
200 EPRT command successful. Consider using EPSV.
150 Here comes the directory listing.
-rw-r--r--    1 ftp      ftp            ... tbfc_qa_key1
226 Directory send OK.
ftp>
A file named tbfc_qa_key1 is present in the directory. We retrieve it using the get command and then exit the FTP session.
ftp> get tbfc_qa_key1
...
226 Transfer complete.
...
ftp> exit
221 Goodbye.
user@kali:~$
Examining the file reveals the first key for the challenge.
user@kali:~$ ll
...
-rw-rw-r-- 1 user user   ... tbfc_qa_key1
...
user@kali:~$ cat tbfc_qa_key1
KEY1:3aster_
user@kali:~$
Next, we identify the service running on port 25251 using Netcat.
Upon establishing a connection, we are greeted with the service version TBFC maintd v0.2 and a message indicating how to use the custom service.
user@kali:~$ nc -v 10.82.130.66 25251
10.82.130.66: inverse host lookup failed: Unknown host
(UNKNOWN) [10.82.130.66] 25251 (?) open
TBFC maintd v0.2
Type HELP for commands.
Using the custom HELP command, we obtain a list of available commands. Running them one by one yields the second flag when we execute the GET KEY command.
HELP
Commands: HELP, STATUS, GET KEY, QUIT
STATUS
status: armed_for=43s, port=25251
GET KEY
KEY2:15_th3_
QUIT
bye
user@kali:~$
With the second key in hand, we proceed to scan UDP ports, checking the most common one thousand UDP ports.
user@kali:~$ nmap -sU 10.82.130.66
...
PORT   STATE SERVICE
53/udp open  domain
...                                                                                                              user@kali:~$
Given the DNS service we discovered, we query it for the third key.
user@kali:~$ dig @10.82.130.66 TXT key3.tbfc.local
...
;; QUESTION SECTION:
;key3.tbfc.local.               IN      TXT

;; ANSWER SECTION:
key3.tbfc.local.        0       IN      TXT     "KEY3:n3w_xm45"
...                                                                                                              user@kali:~$
With all three keys collected, we log in to the server’s admin panel. Click Unlock,
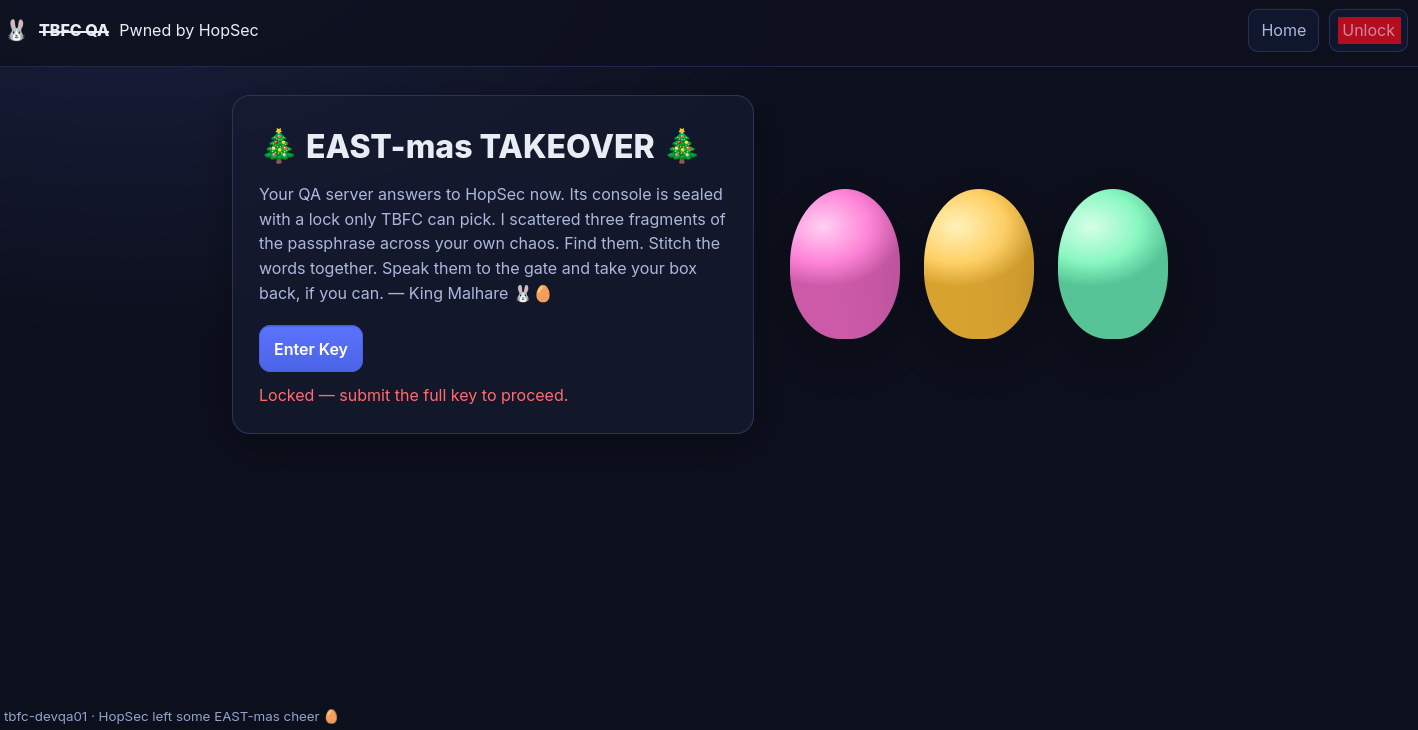
Figure 2: TBFC admin portal login page with Unlock button
and access the secret admin console by submitting the combined keys – 3aster_15_th3_n3w_xm45 – then click Go to Terminal.
We are presented with the Secret Admin Console.

Figure 3: Secret admin console terminal interface
After gaining console access, we list open listening ports directly from the web application’s Secret Admin Console using ss -tunlp (or netstat on older systems).
The output shows services listening on all interfaces (0.0.0.0) and some bound only to localhost (127.0.0.1).
In addition to the previously discovered open TCP ports – ports 22, 80, 21212, and port 25251 – we discover several previously hidden TCP ports: 53, 8000, 3306, and 7681.
Some of these – ports 8000, 3306, and 7681 – are available only to the host itself and are not exposed externally.
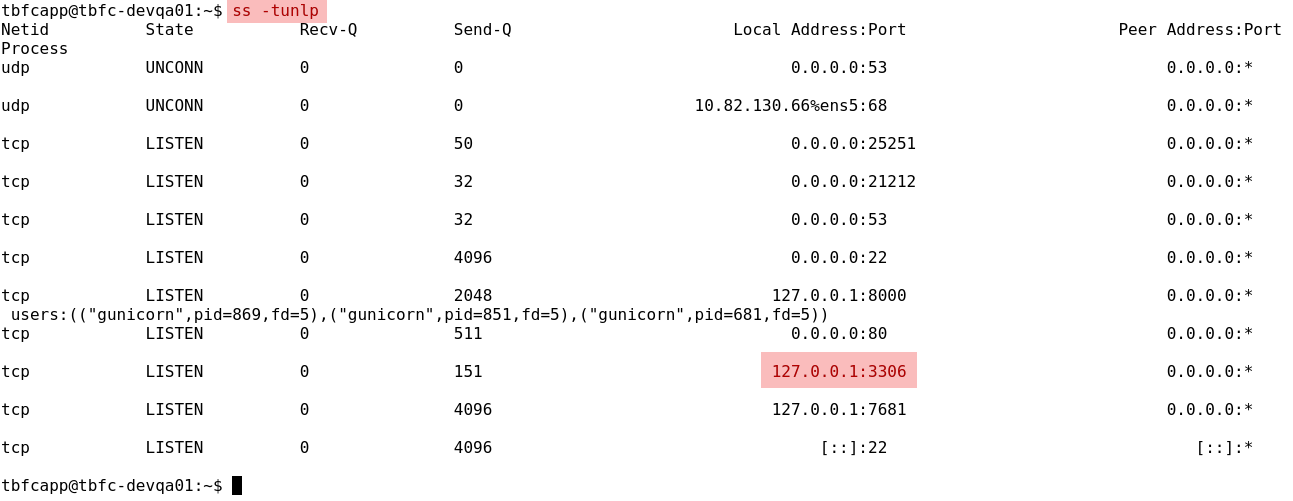
Figure 4: Output of SS command showing listening network ports
With root privileges, we could view the associated processes; however, our focus is port 3306, the default MySQL port.
MySQL typically requires a password for remote connections but permits unauthenticated logins from localhost, allowing us to inspect database contents using the MySQL client while already on the host.
We attempt to access the database without credentials.
First, we check the tables using mysql -D tbfcqa01 -e "show tables;" and then retrieve the flag using mysql -D tbfcqa01 -e "select * from flags;".
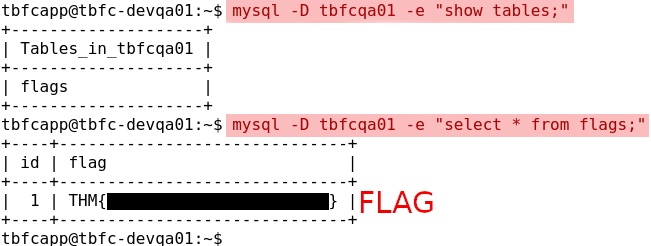
Figure 5: MySQL database query results showing the retrieved flag
Questions and Answers
Question-1: What evil message do you see on top of the website?
Pwned by HopSec
Question-2: What is the first key part found on the FTP server?
3aster_
Question-3: What is the second key part found in the TBFC app?
15_th3_
Question-4: What is the third key part found in the DNS records?
n3w_xm45
Question-5: Which port was the MySQL database running on?
3306
Question-6: Finally, what’s the flag you found in the database?
THM{<redacted-flag>}
Question-7: If you enjoyed today’s room, feel free to check out the Nmap: The Basics room.
No answer needed